This is by no means a comprehensive guide to replacing the factory radio in a Land Rover Discovery Series 1, but rather just some pointers on how to tap into the factory wiring. While the removal and installation of a new head unit it pretty straight forward, getting sound to actually come out to the speakers turned out to be pretty complicated.
My self-inflicted mandate was that I really didn’t want to cut the factory harness to install a new radio, so I set out to do that. I purchased the head unit from Crutchfield and they threw in the Metra 70-9400 Receiver Wiring Harness for free. There are two adapters included in the Metra kit, one for the power and one for the sound. The power adapter worked great, but when I plugged in the sound adapter, nothing happened. It turns out that there is a factory amp located under the dash in the passenger side footwell, and this would not work with the new head unit. I think there might have been another adapter that can be purchased that would have made this work (This?), but I wasn’t ready to spend any more money on the project. It turns out, in theory, you can use the Metra Adapter and jump the factory harness plug and get an aftermarket radio to work without cutting the factory harness.
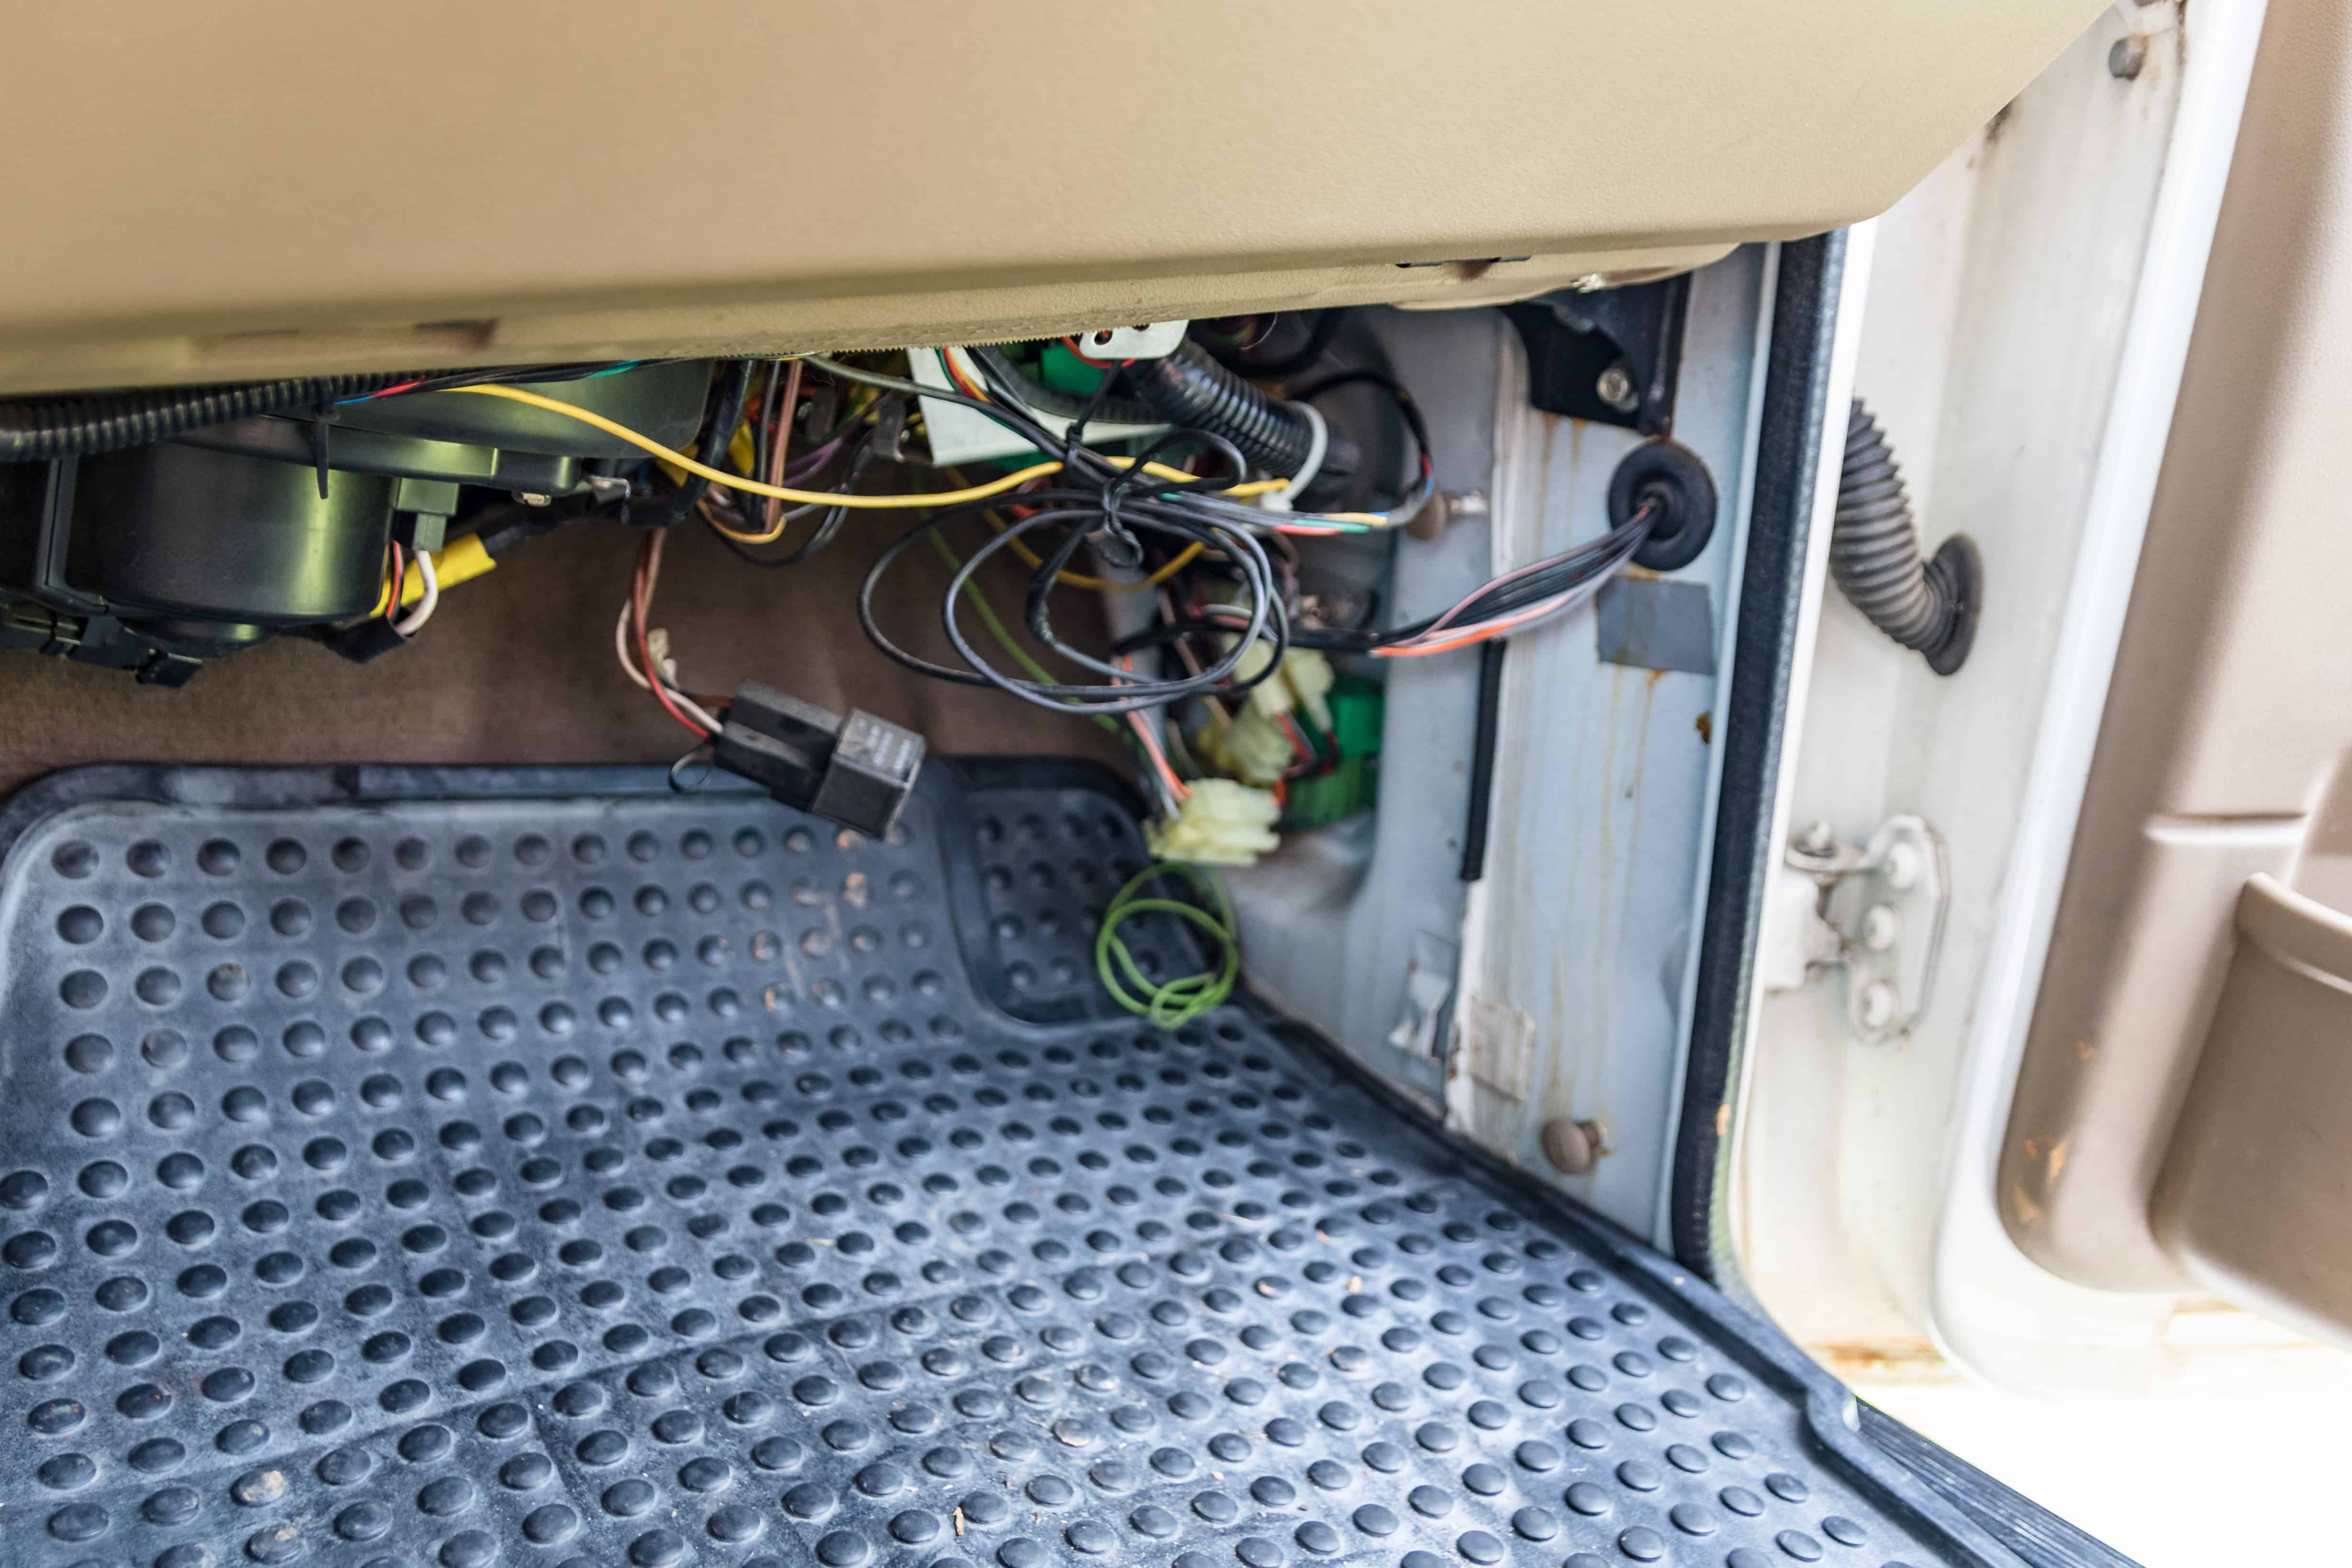
Factory Amp Location
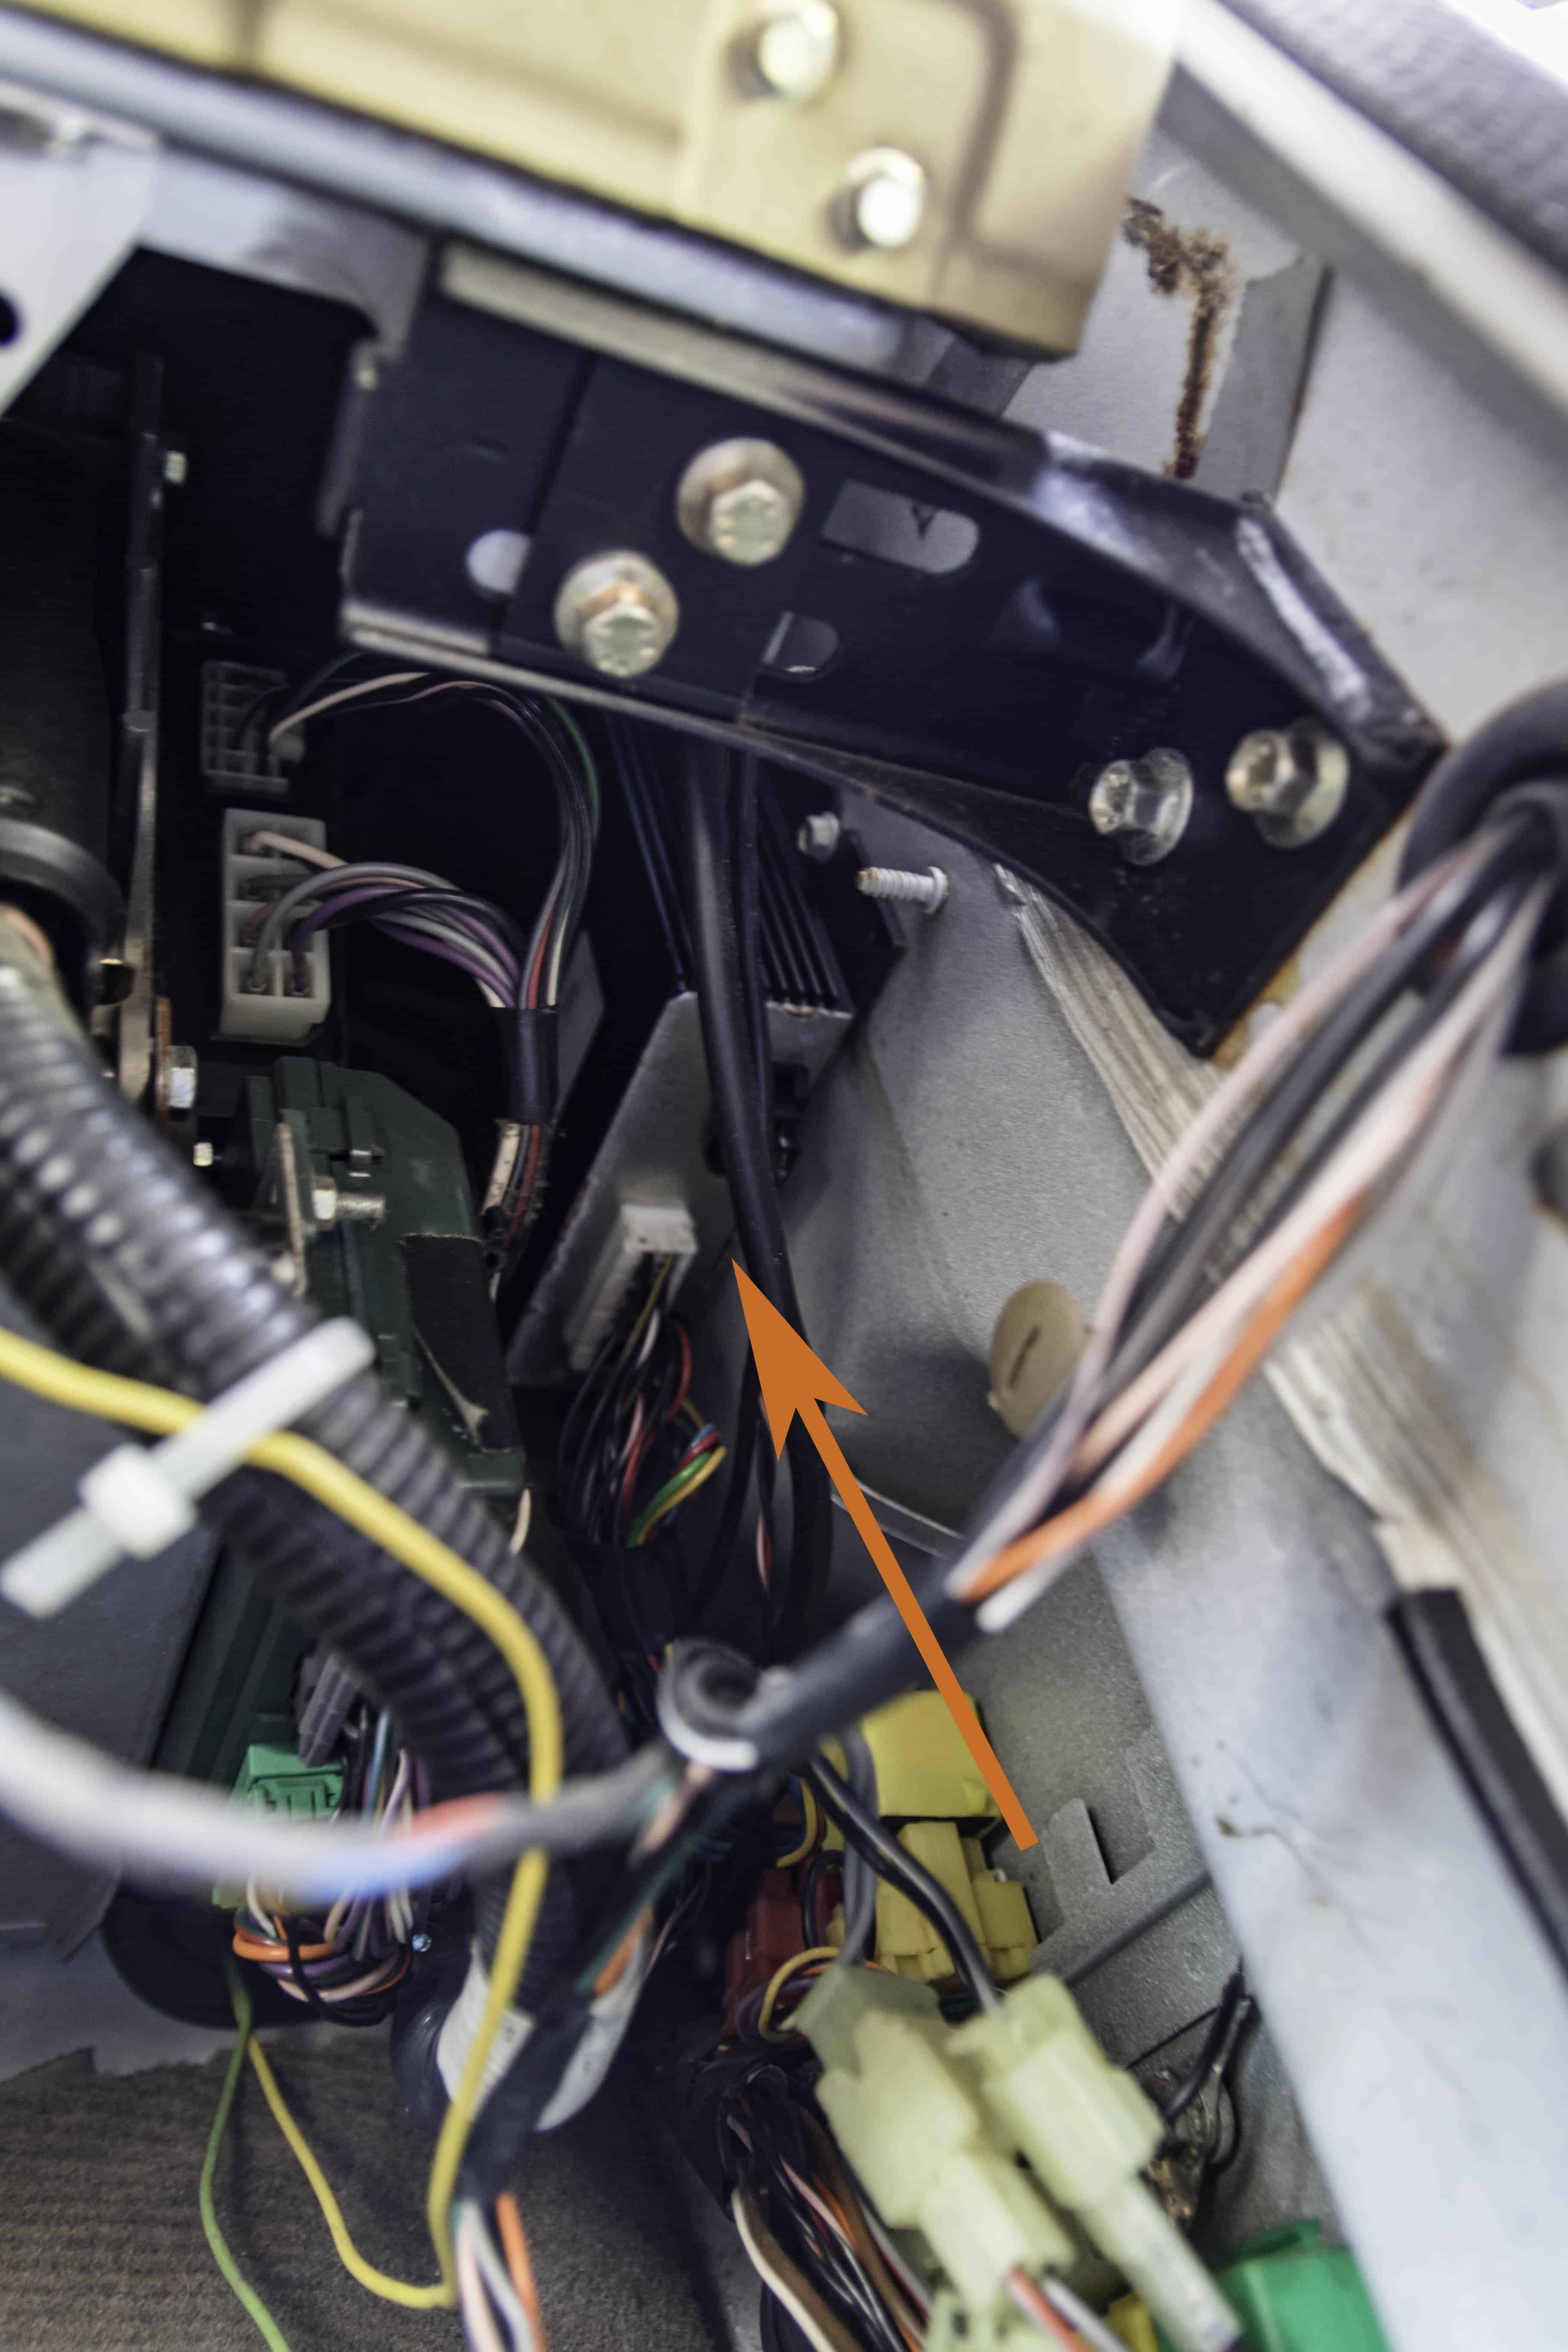
Factory Amp Location
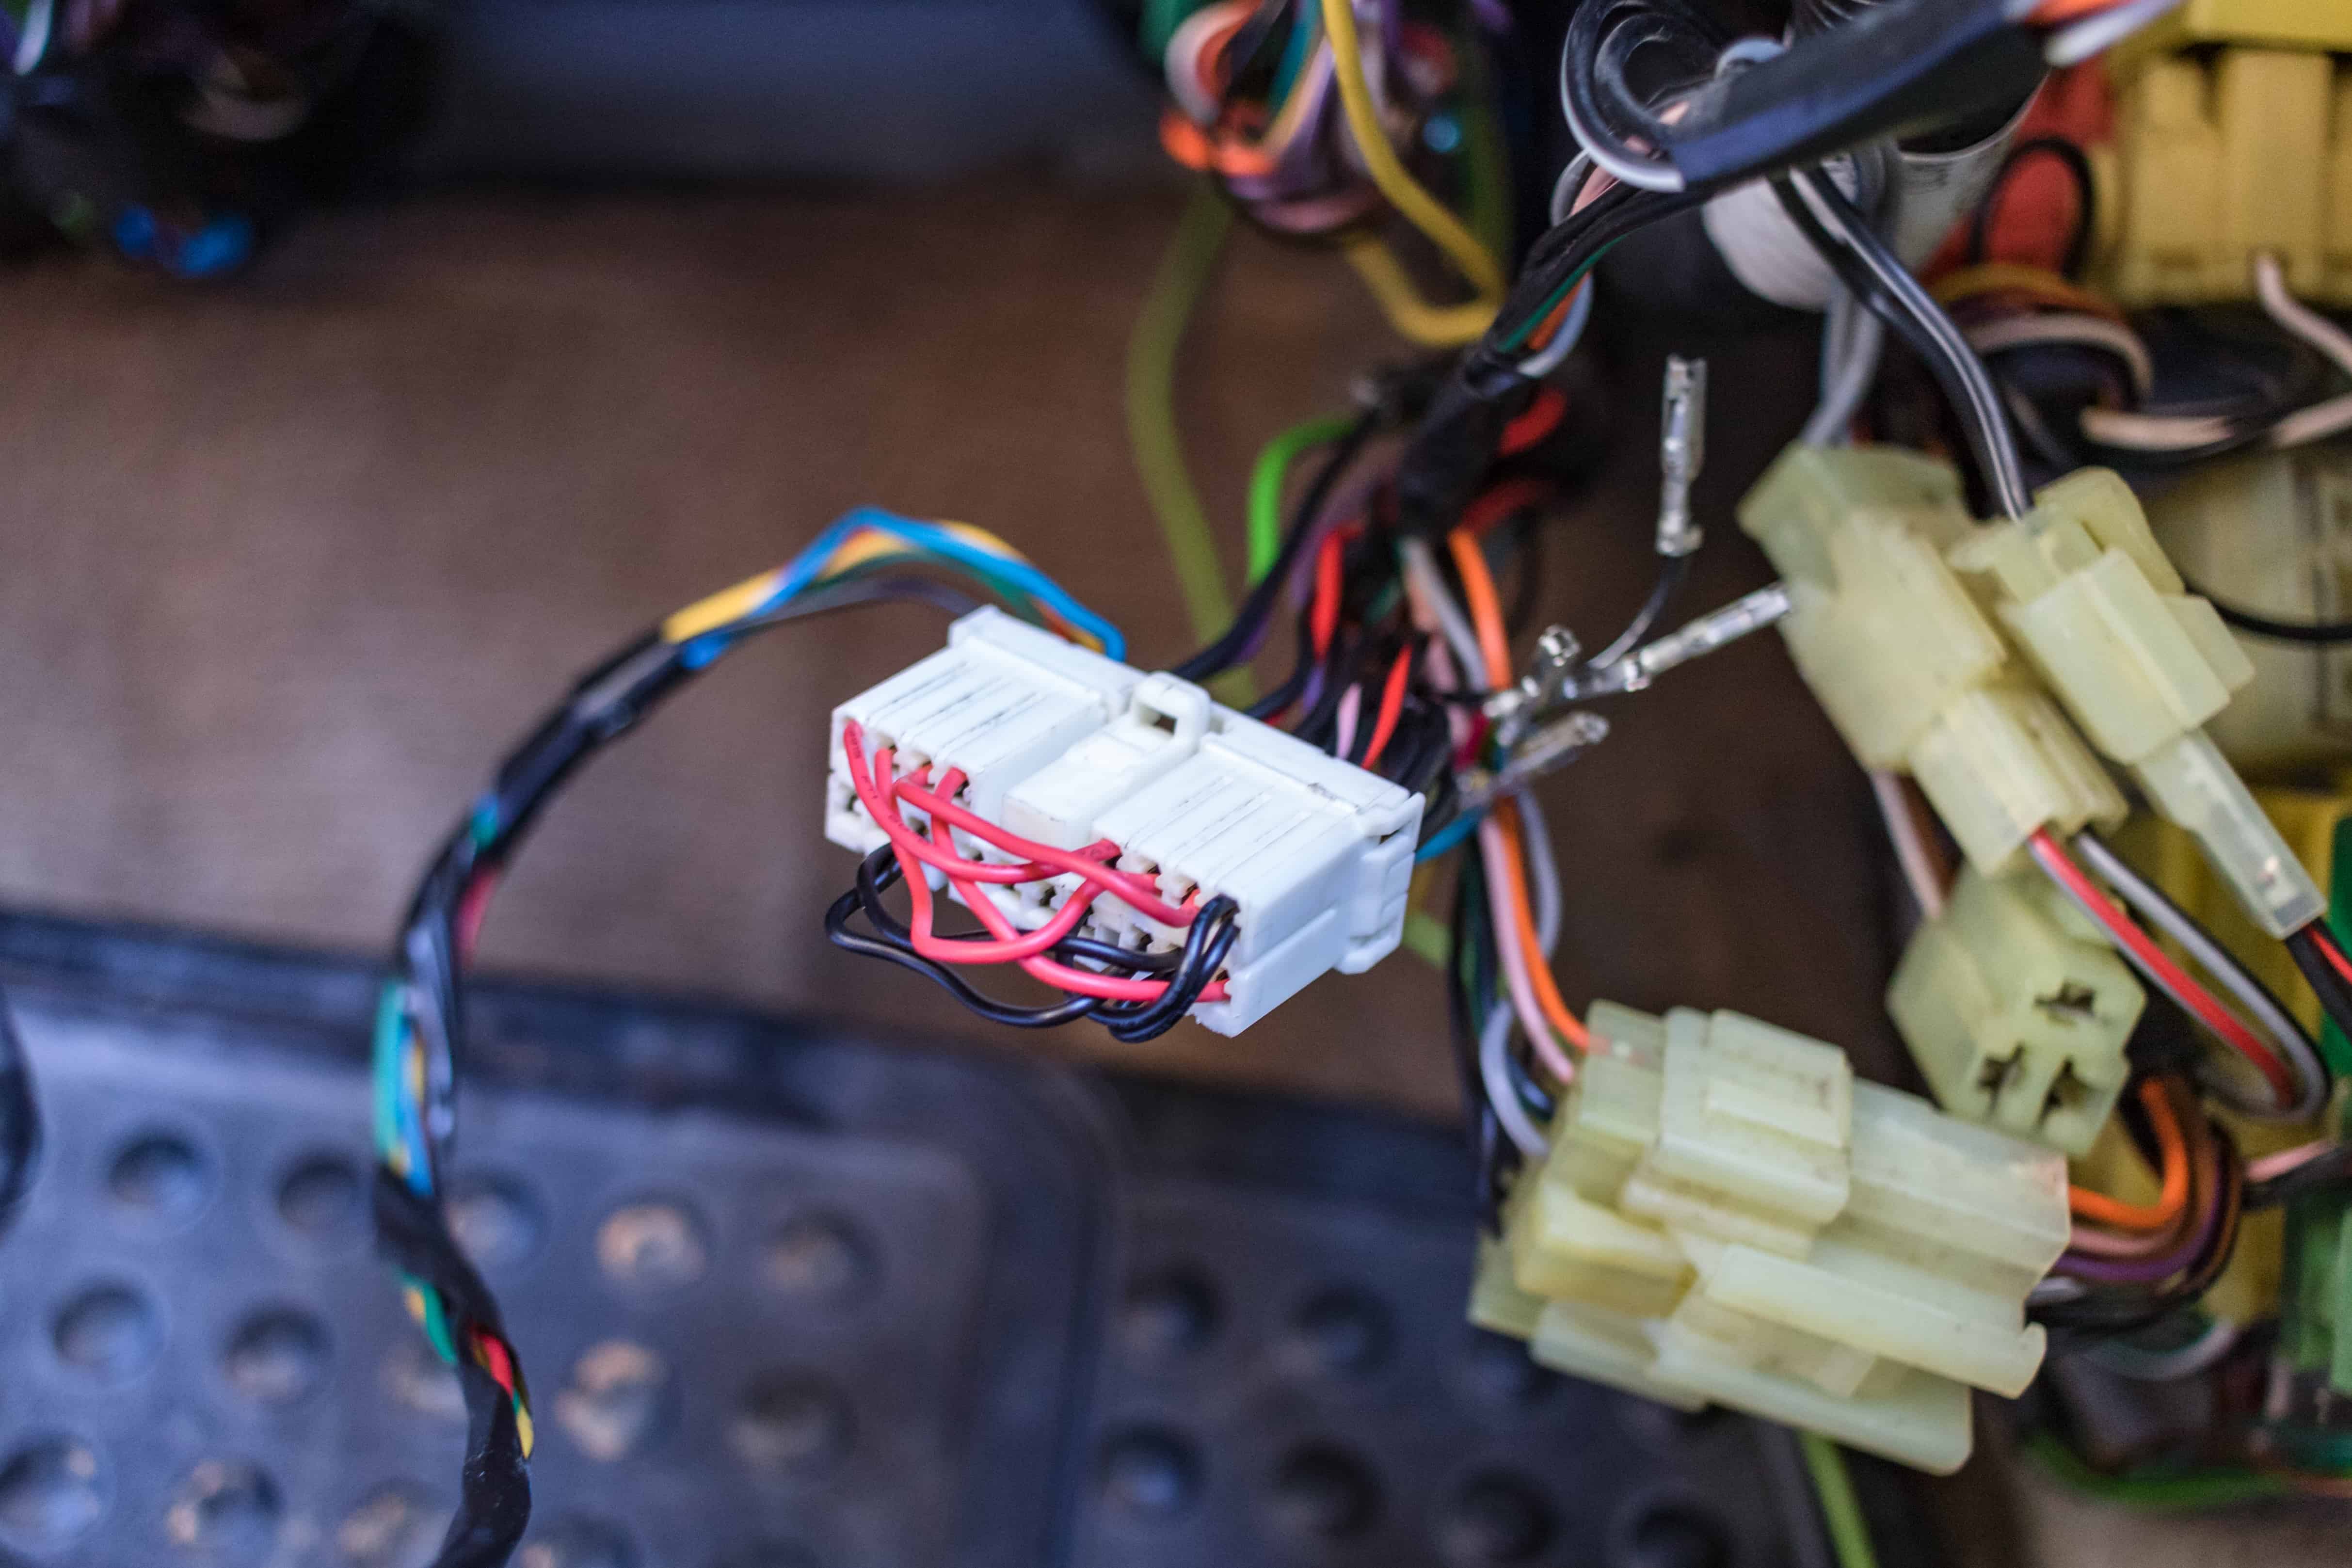
Looking at the factory Plug face on, 4 wires on the top left are the input from the factory stereo and are fed by the Metra Adapter. The wires on the right-hand side are the wires that go directly to the speakers. The red wires are the (+) and the black are the (-). The Metra adapter uses a shared (-), and while this worked in my proof of concept, I don’t know if it would cause issues down the line.
This is the conversion from Standard Stereo Colors on the Metra Adapter to Land Rover Color for the wires behind the dash
Left Front: White to Yellow
Right Front: Gray to Green
Left Rear: Green to Blue
Right Rear: Purple to Red
So this setup totally worked, I had all 4 speakers going, but I just could not find a way to get the jumpers to stay in. I expect with the correct wire size or terminal, this would absolutely work, but at this point, I was 5 hours into what should have been a 15-minute job and decided to cut the harness and be done with it. I also looked at taking the factory amp apart and using the plug to build an adapter, but according to the manual, it’s potted in a dangerous chemical and should not be taken apart.
I found this guide which steps you right through the process of bypassing the factory amp. Basically, you just cut the 8 wires off the right-hand side of the above plug, and run some speaker wire behind the dash and hook into the aftermarket harness, and don’t use the Metra sound harness.
This is the wiring guide for the factory harness to the standard stereo colors: (Standard colors are the text color)
Black-White = Front Left (+)
Black-Brown = Front Left (-)
Black-Pink = Front Right (+)
Black-Red = Front Right (-)
Black-Orange =Rear Left (+)
Black-Yellow = Rear Left (-)
Black-Green = Rear Right (+)
Black-Blue = Rear Right (-)
I hope this helps solve some frustration you might be having trying to upgrade your factory stereo.